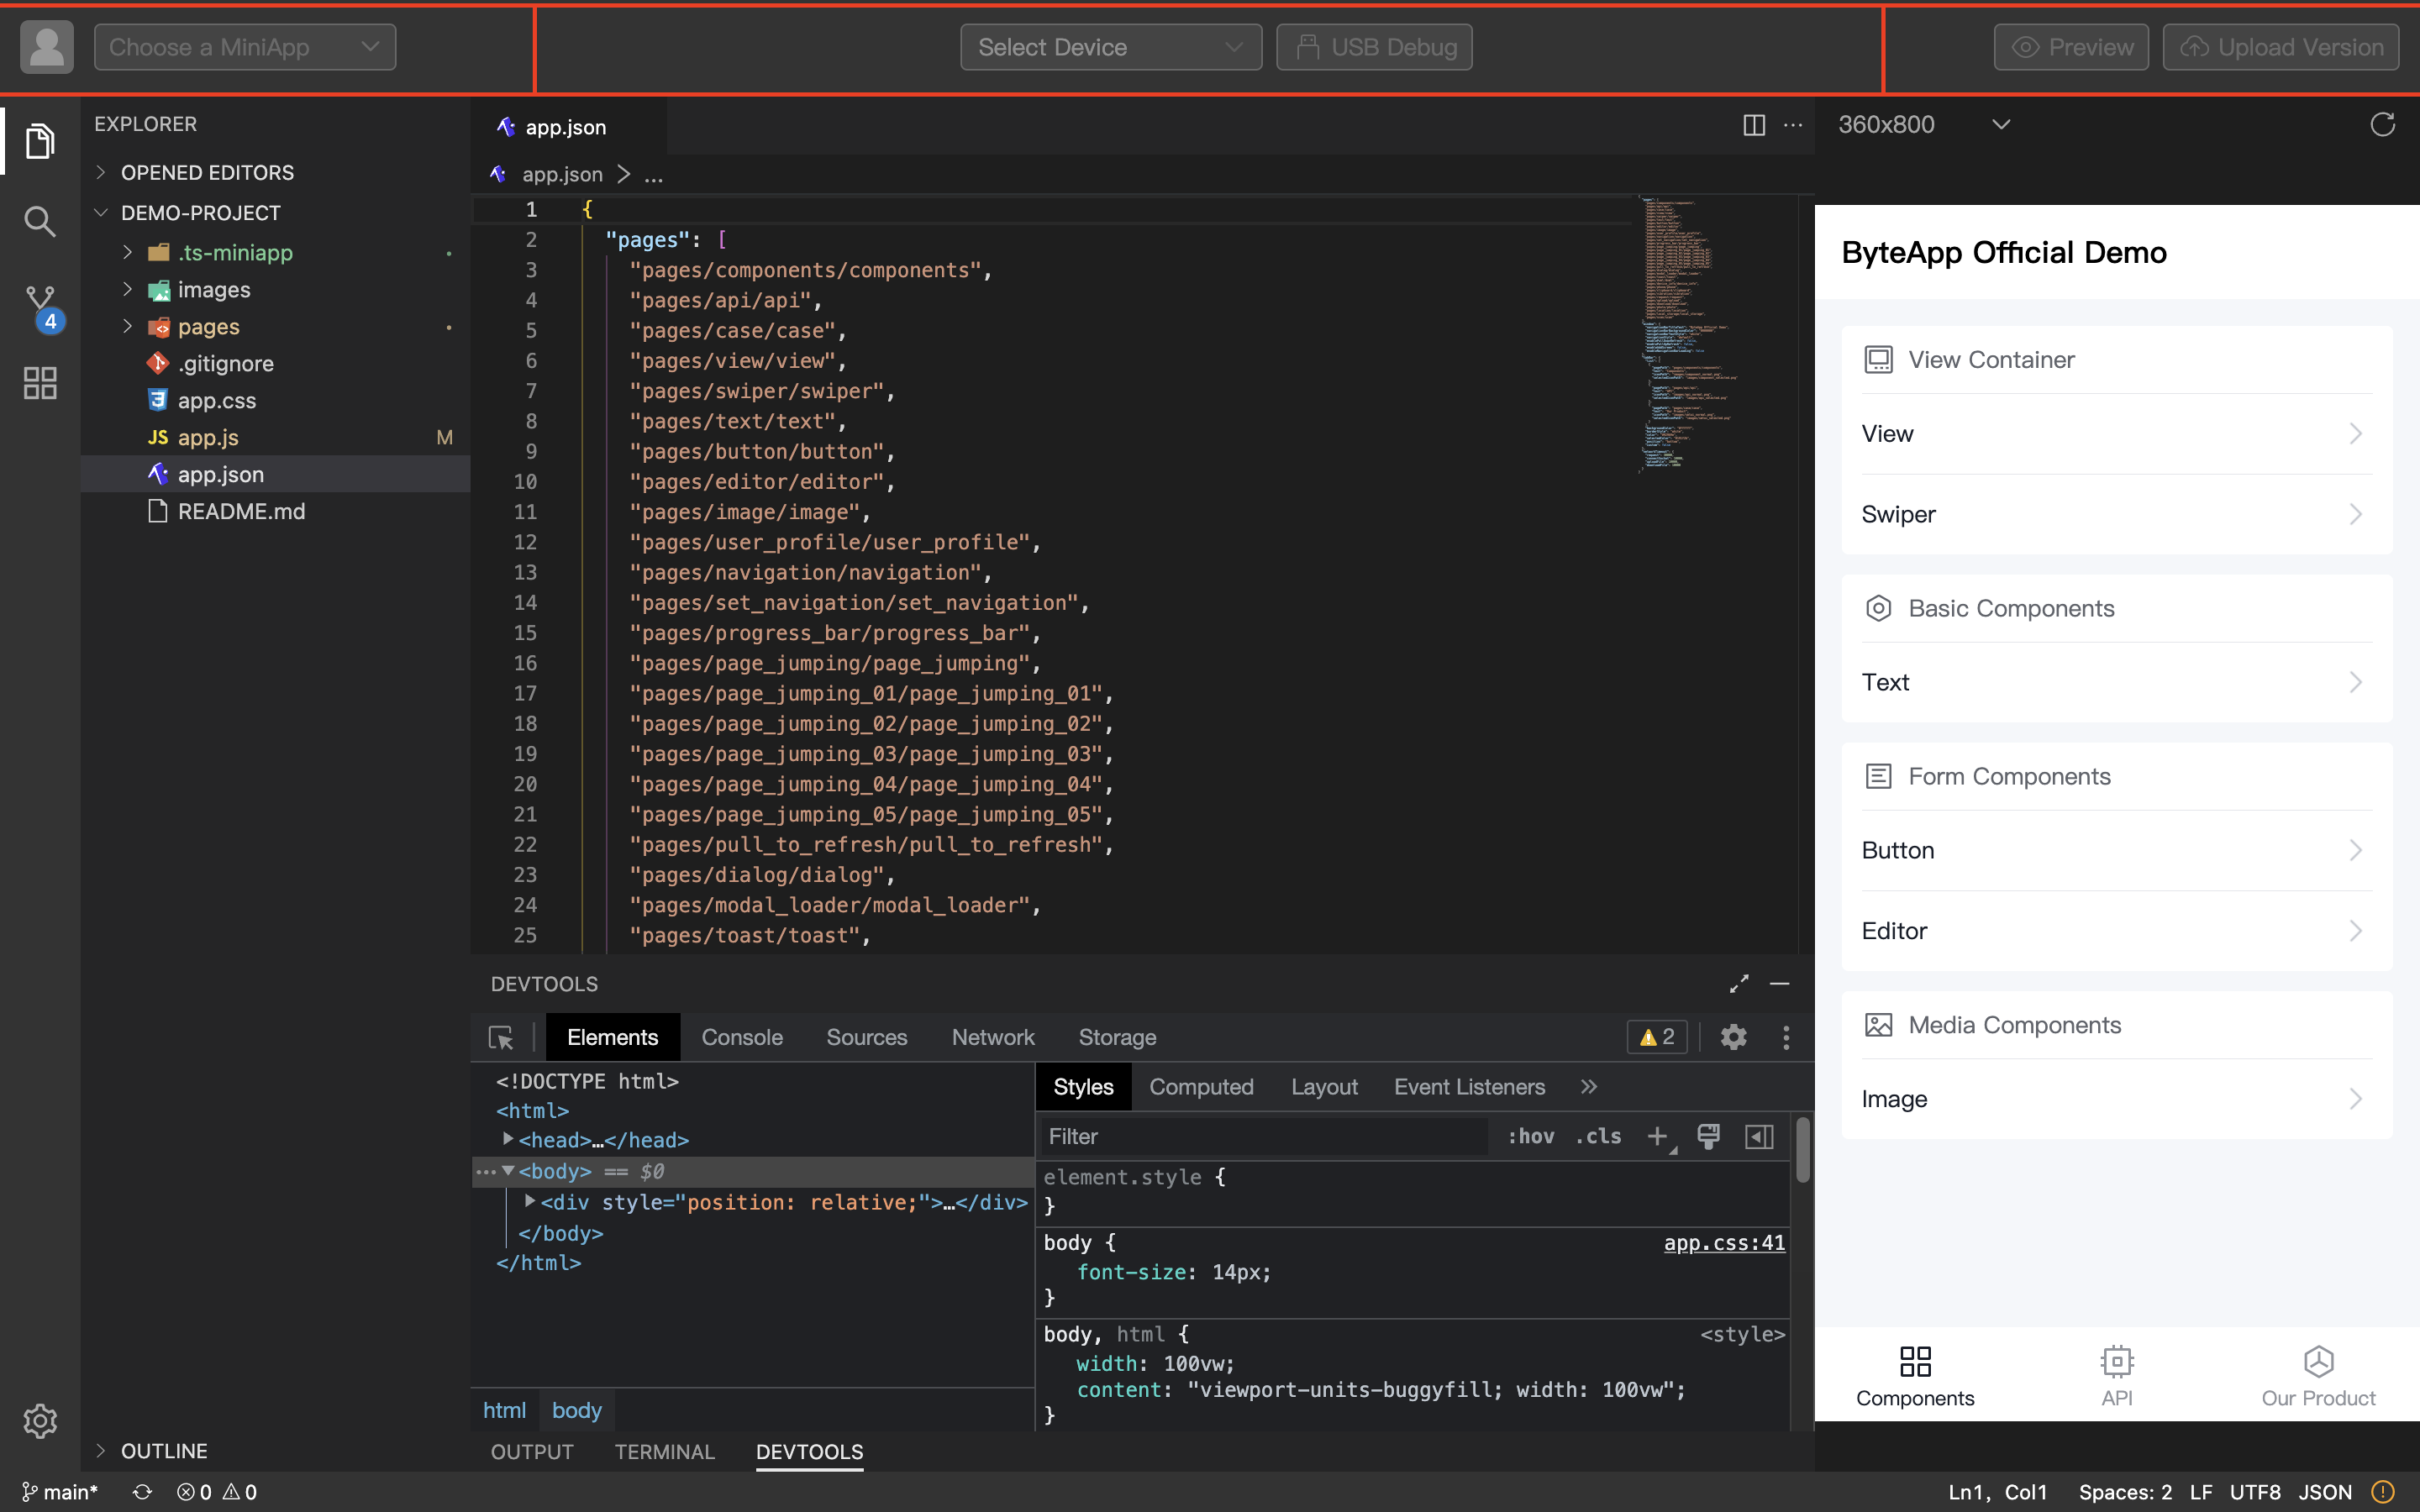
Toolbar
The IDE's toolbar is located at the top of the main interface and contains the most commonly used functions in the IDE. This article will introduce each function from left to right.

Functions on the Left Side of the Toolbar

Login
- When not logged in, click the Login button. In the pop-up login dialog, enter your username and verification code to log in. After successful login, the user's avatar replaces the original login button.
- When logged in, click the user's avatar to view user information. Click the Logout button to log out.
Select Associated Mini Program
Each developer account can have development permissions for multiple Mini Programs. Therefore, it's necessary to associate a specific Mini Program to determine where the Mini Program code will be uploaded. In the dropdown list under this option, you can click + Create Mini Program to enter the Mini Program management page where you can create Mini Programs for association.
Notes:
- If you need to associate a Mini Program from another account but the developer account doesn't have development permissions, follow these steps:
- Log in with the main account to the operational platform, click the desired Mini Program, and go to the Mini Program management page.
- In the navigation bar, select Member Management, click Add Member, and follow the prompts to add a development member.
- In the "Pending Invitations" section on the homepage of the operational platform, accept the invitation.
- Log in to the IDE with the developer account and associate the Mini Program.
Compile
Click the Compile button to start compilation. The Compile button will switch to a compiling state. The IDE will automatically recompile when it detects changes in project files. Compilation information will be displayed in the bottom information output panel. Click the Compile button again to return to the initial state and stop compilation.
Functions in the Middle of the Toolbar

Real Device Debugging (Android Only)
- Connect a phone with USB debugging enabled and MiniApp installed to your development machine via a USB cable.
- If there's only one device, the device selection box will default to that device. If there are multiple devices, use the device selection box to choose the device you want to debug.
- Click USB Debugging, and the IDE will compile the Mini Program and open it on the selected device. The debugger will be displayed in the bottom debugging panel when the Mini Program finishes loading.
Functions on the Right Side of the Toolbar

Preview
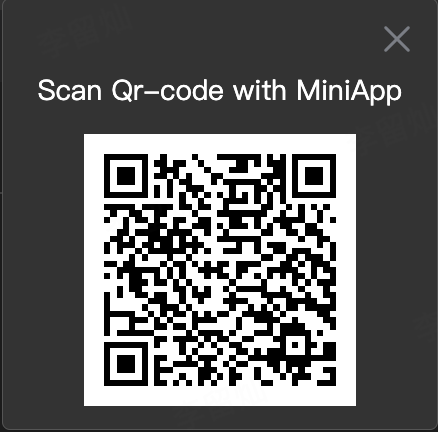
Click the Preview button, and the button will change to a loading state. After successfully uploading the Mini Program, a preview QR code dialog will appear. You can use MiniApp to scan the QR code and preview the Mini Program.

Upload Version
Click the Upload Version button to open a dialog for uploading version information. Enter the correct version number for this upload and click the Upload button to upload the Mini Program.
After a successful upload, you can go to the Version Management page on the operational platform, click Send for Review to initiate the Mini Program review process. Once the review is complete, click Publish to officially launch the Mini Program.